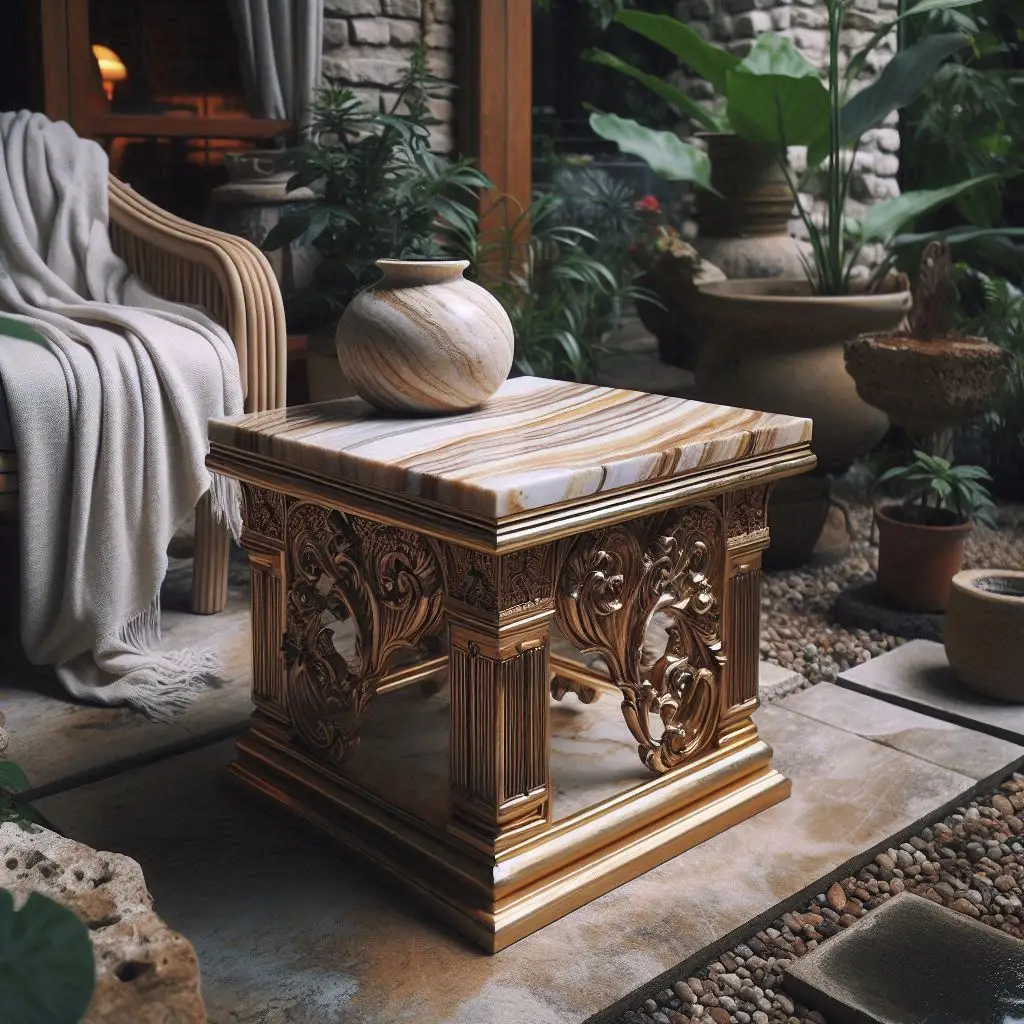
Travertine side table DIY
In this DIY guide, I'll walk you through the steps to create your travertine side table, incorporating a little bit of the outdoors into the design of your house.
I think it can be a good idea to be more familiar with Travertine first:
Travertine is a natural stone that is very lovely and can infuse any room with an aura of refinement and luxury. Because of its one-of-a-kind textures and earthy tones, it is an excellent material for the creation of sophisticated pieces of furniture.
It has been appreciated for a very long time due to its inherent beauty and adaptability. It is generated by the slow deposition of minerals from geothermal springs and limestone caverns. This sedimentary rock has a long and illustrious history that dates back centuries, and it has left an unmistakable influence on the world of art, interior design, and architecture all over the globe.
Travertine emanates an air of refinement and elegance because of its unusual veining, subtle color changes, and original textures. Travertine is characterized by these characteristics. Because of its durability and aesthetic appeal, travertine has been a popular choice for construction materials throughout history. This includes ancient Roman monuments such as the Colosseum and the Roman Forum, as well as Renaissance palaces and contemporary luxury houses on a global scale.
The color palette of travertine has a broad range of possibilities, ranging from rich walnut and deep mocha tones to creamy beige and warm honey tones. This provides a wide variety of alternatives that may be used to complement any design concept. Surfaces are given more depth and personality as a result of their natural diversity, which makes each item one-of-a-kind.
In addition to its beautiful advantages, travertine has a number of functional benefits that make it an excellent option for a wide range of applications. Because of its inherent resistance to heat, moisture, and wear, it is perfect for high-traffic areas such as floors, countertops, and, of course, furniture. Its durability and minimal maintenance requirements make it an ideal choice.
Travertine, when used in the design of furniture, imparts an impression of refinement and richness to any room because of its natural beauty. Its timeless beauty enriches the entire atmosphere of a space, producing a feeling of warmth and elegance, regardless of whether it is integrated into sleek modern items or designs inspired by rustic farmhouses.
As a result of its ongoing appeal and innate beauty, travertine continues to attract design professionals, homeowners, and craftspeople alike. Its versatility makes it an excellent option for those who are looking to add a touch of natural elegance to their homes because of its ability to seamlessly integrate with a variety of various kinds of decoration, ranging from traditional to contemporary.
Materials Needed:
Travertine slab (desired size for your table surface)-
Metal or wooden legs (pre-made or DIY)-
-Epoxy adhesive
-Level
-Sandpaper (medium and fine grit)
Protective gear (gloves, safety glasses)-
Tape measure-
Pencil-
-Cloth
First, set up your workspace:
-Pick a place to work that has good ventilation, either outside or in a garage. Put down a protective covering to shield your work area or floor from harm. Place all of your supplies and equipment close at hand.
Step Two: Determine and Label
-Establish the ideal measurements for your side table using a pencil and tape measure. Make sure to accurately mark these measurements on the travertine slab to ensure a proper fit.
Step Three: Slice the Travertine
-Cut the travertine slab carefully to the stated measurements using an angle grinder or wet saw equipped with a diamond blade. During this phase, take all necessary safety measures and put on the proper protective gear.
Step Four: Grit the Periphery
-To smooth the edges of the cut travertine slab, use sandpaper with a medium grit. To shield your hands and eyes from any sharp edges, use gloves and safety glasses. Once the edges are smooth, go to fine-grit sandpaper for a polished look.
Step Five: Get the Legs Ready
-You may skip this step if you're utilizing pre-made legs. If not, use a saw to measure and cut the wooden or metal rods to the appropriate length if you're building your legs. To smooth off any sharp edges, sand them.
Step Six: Join the Legs
-Place the legs on the bottom of the travertine slab, being sure to properly align and spacing them equally. Press the mounting plates or the legs directly into the bottom of the travertine slab after adhering them with epoxy glue. Make sure the legs are perpendicular to the surface and straight by using a level. Follow the manufacturer's directions and let the adhesive set.
Step Seven: Concluding Details
-Use a clean, moist cloth to wipe out any dust or dirt from the legs and travertine surface after the glue has completely dried. Examine the table for any flaws or inconsistencies, and modify it as needed.
Step Eight: Take Pleasure in Your New Side Table
-Now that it's finished, your homemade travertine side table is prepared to add some natural beauty to your living area. Admire the elegance of your handcrafted work as you place it next to your couch or recliner to store beverages, books, or decorative objects.
Conclusion: Elevate Your Décor with DIY Craftsmanship
Creating your own travertine side table is a gratifying do-it-yourself project that enables you to add a touch of elegance to your house while also demonstrating your abilities as a craftsperson. By adhering to these simple methods and working with materials of superior quality, you will be able to create a piece of furniture that is not only aesthetically pleasing but also practical, and it will be appreciated for many years to come. Now is the time to collect your tools, let your imagination run wild, and revel in the sense of accomplishment that comes from bringing the splendor of nature into your living area with your handcrafted travertine side table.

